Tuesday, August 20, 2013

How I Re-Imaged My Mac Computers in My Lab

I wanted to start the school year with a new clean slate by re-imaging my computers in the lab. This process involved the cloning of a computer hard drive that I customized and reinstalling it to the rest of the computers. The hard drive I cloned, or imaged, included the specific applications I wanted my students to use, specific OS settings, and numerous Chrome extensions that block inappropriate ads on the browser. Imaging your computer is also a great way to back-up your important data. 
All this could not have been done with the help of Jacob in the IT department. 

Steps to Image Your Computer:

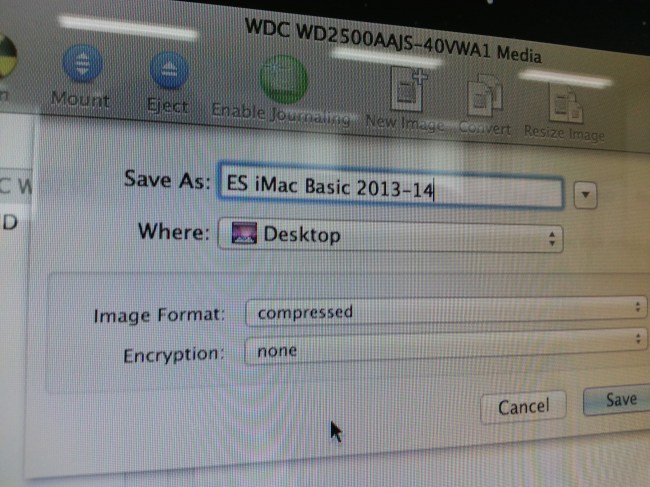
1. Open your Disk Utility application and click on the "New Image" icon. 

Image

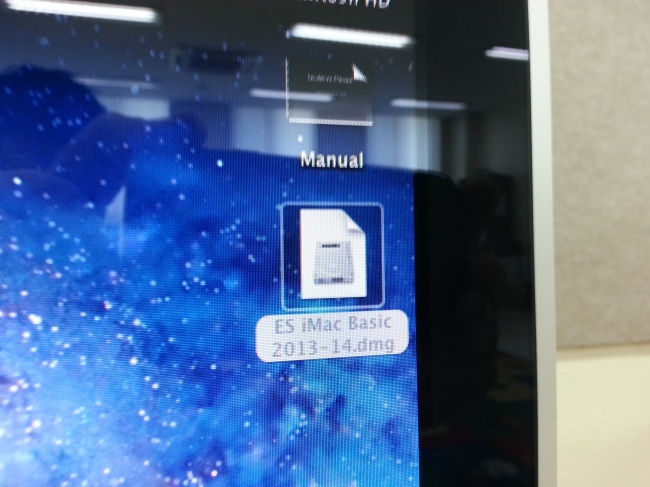
2. Name your dmg file and save it to your desktop. 

ImageImage

3. Plug in your external hard drive and upload the dmg into it. 


Steps to Re-Image Your Computers:

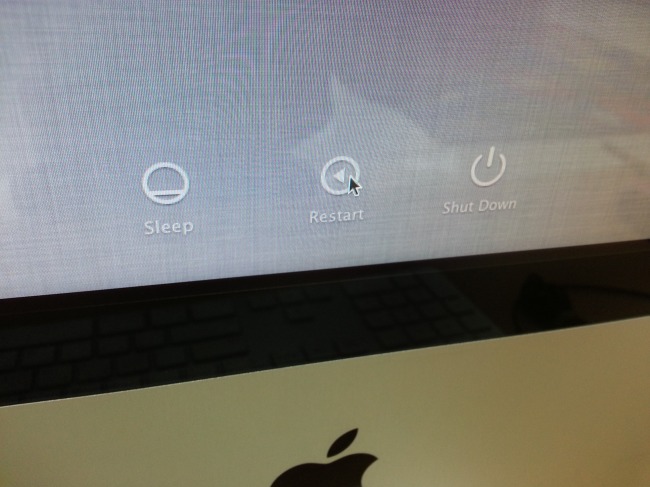
1. Restart your computer. 

Image

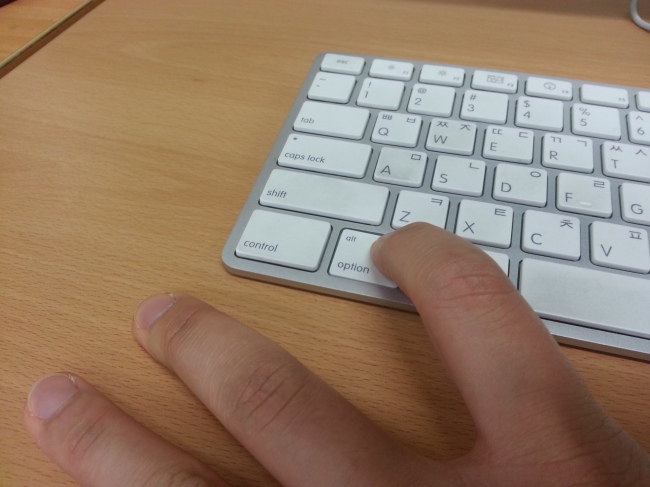
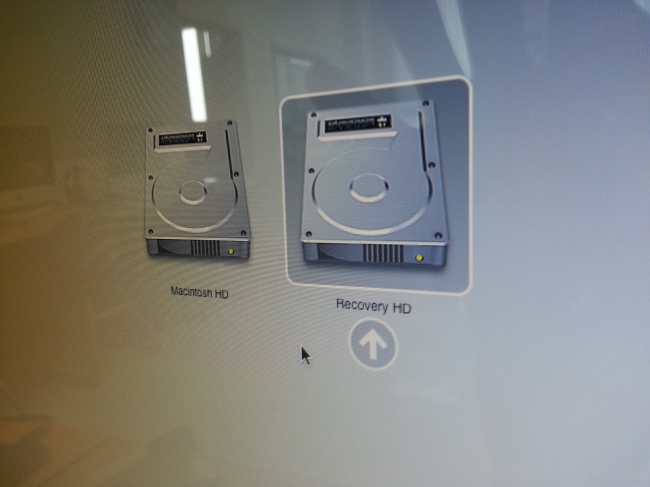
2. Hold down the Option key during the restart of your computer.

Image

3. Click on Recovery HD

Image

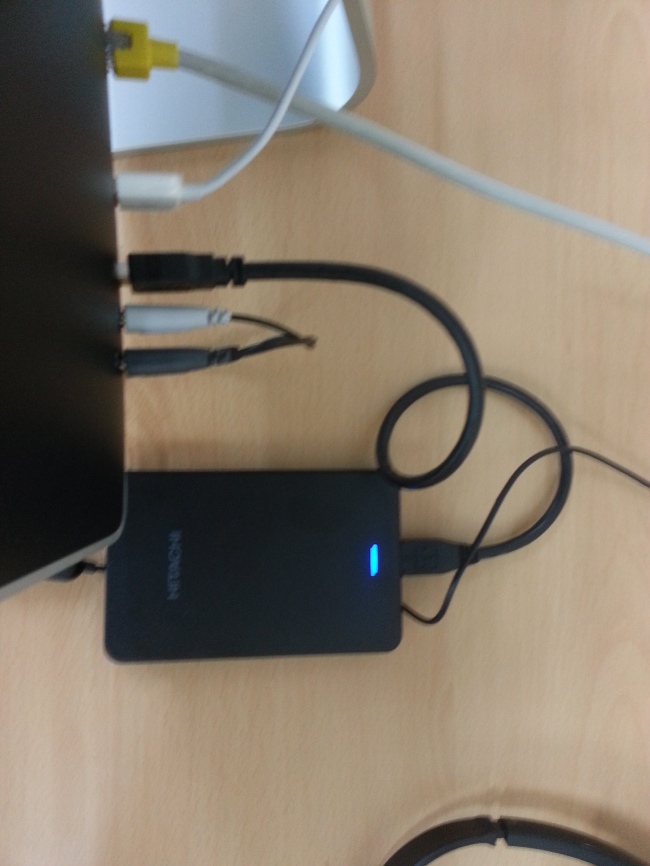
4. Plug in your external hard drive to your computer that contains the dmg file.

Image

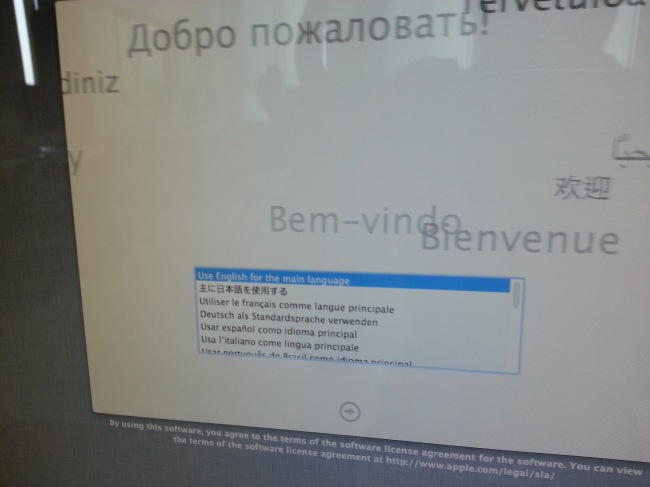
5. Choose your language.

Image

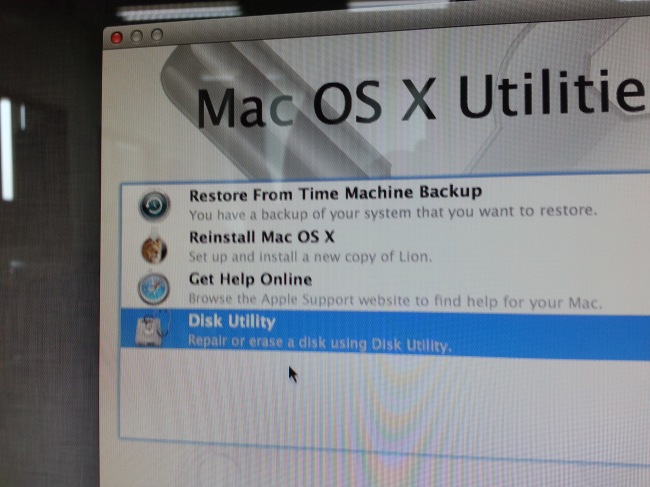
6. Click on Disk Utility.

Image

7. Choose your hard drive on the left-hand side.

Image

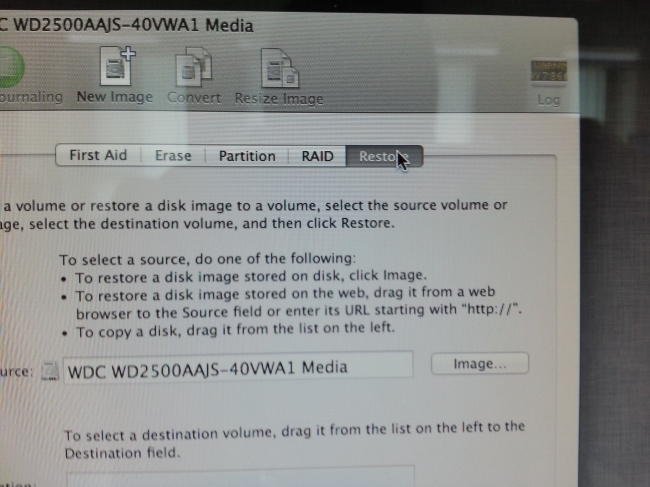
8. Click on "Restore."

Image

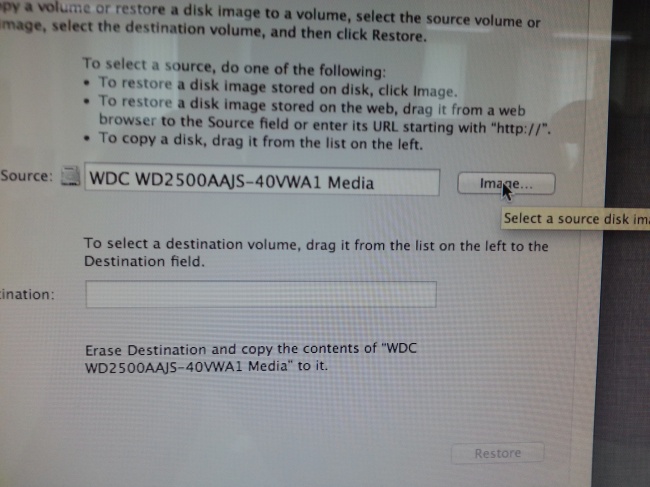
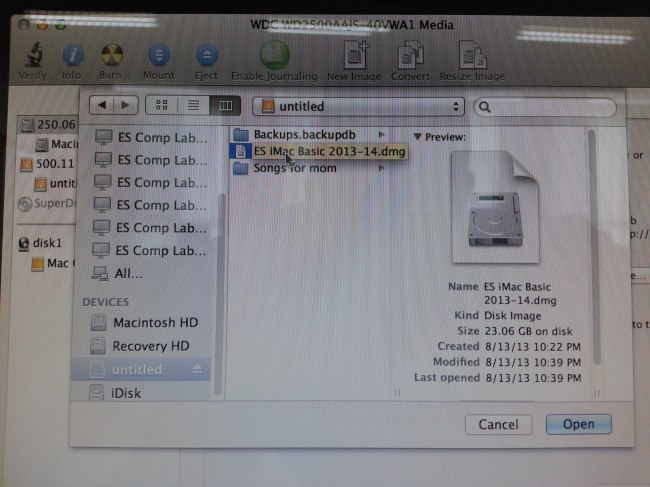
9. Click on the "Image" button and choose your dmg file.

ImageImage

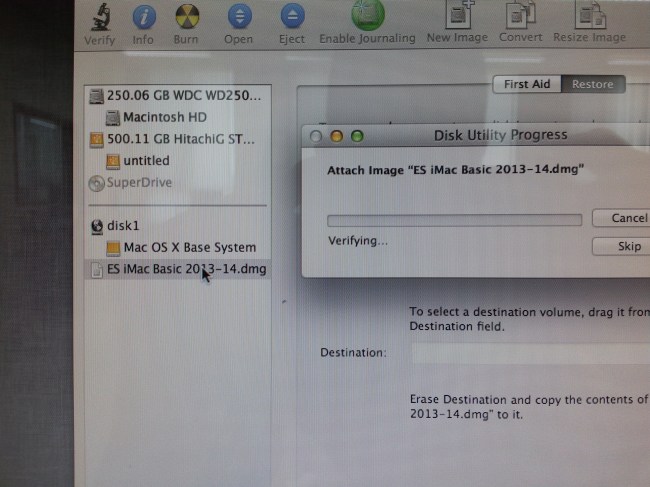
10. Double-click on your dmg and click "Skip".

Image

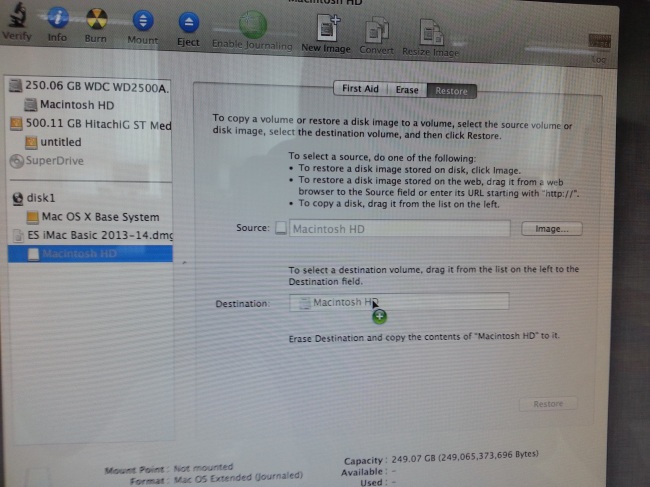
11. Double-click on the bottom "Macintosh HD".

Image

12. Drag the first "Macintosh HD" into the "Destination" box.  

Image

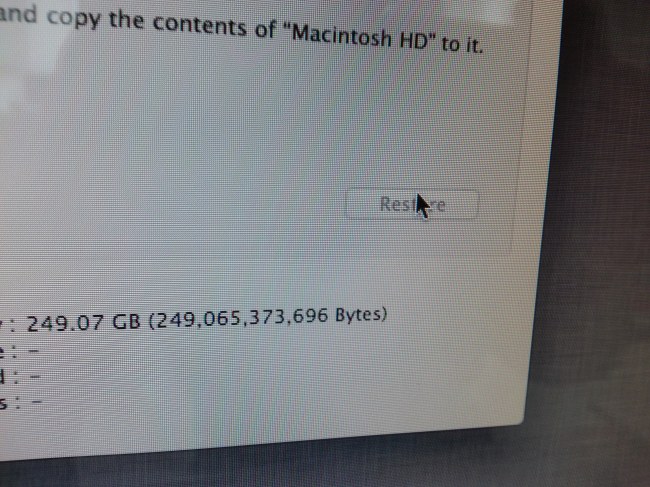
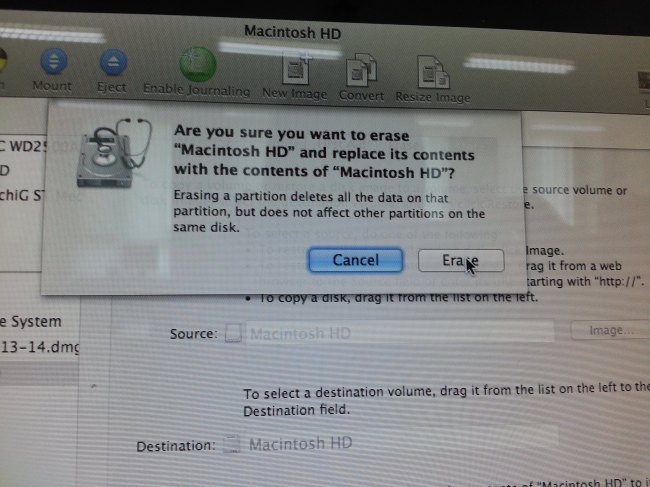
13. Click on the "Restore" and "Erase" button. 

ImageImageImage


Thursday, August 15, 2013

Journal Writing with Minecraft

As teachers, it is important to provide struggling students with interest-based learning activities that engage their curiosity and take advantage of their intrinsic motivation. Teachers have to find out their students' interests and utilize the information to facilitate learning for higher achievement. 
For those students who are interested (or obsessed!) with Minecraft, you can use the game to teach almost any topic. For example, if you have students who don't enjoy journal writing, try incorporating Minecraft into a journal writing assignment.  Here are three documents I created that are part of my journal writing unit. 

Google Presentation

Screen Shot 2013-08-14 at 2.48.17 PM

I created this Google presentation explaining the purpose of the unit and the culminating challenge. The purpose of the unit is to develop journal writing skills:
  • Retelling of Experience
  • Reflections/Personal Response
  • Relevance to Classroom Concept or Personal Experience
  • Making Inferences
The students' culminating challenge would be to document their experiences with journal writing.
Your team of astronauts have crashed landed on an unknown planet. You have contacted your home planet and were told a rescue team will land on the unknown planet in 6 weeks.
After providing students with instruction and guided practice in developing these journal writing skills, students would get to play Minecraft.  During their Minecraft sessions, students would take notes about the environments they encountered, the actions they took, and the interactions they experienced with their classmates.  The students would then be required to write a journal entry about their experience using the journal writing skills they learned. 

eBook 

Screen Shot 2013-08-16 at 6.05.01 AM
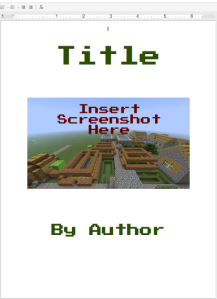
Ultimately, students would create an eBook using Google docs. The image above is a link to the template I created where students can type out their journal entries and insert screenshots they took during their adventures in Minecraft. 
Screen Shot 2013-08-16 at 6.30.16 AM
Students could also present their eBook to the class in a "book-signing" event.  
Screen Shot 2013-08-16 at 6.30.08 AM
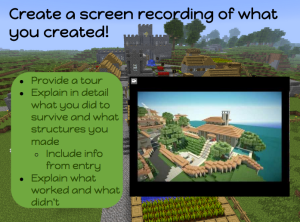
Or students can present their experiences through a screen recording that explains in detail what they did to survive and what structures they created. They could provide a tour of their region, as well as explain what worked and what didn't work in their adventure. 

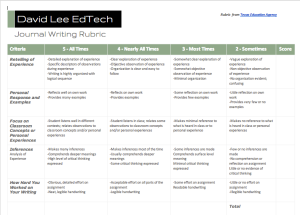
Journal Writing Rubric from Texas Academy

Screen Shot 2013-08-16 at 6.05.23 AM

Thursday, August 8, 2013

Part 1 of Student iPad Procedures

1. Open the Camera app

iOS-5-Features-Enhanced-Camera-App-2

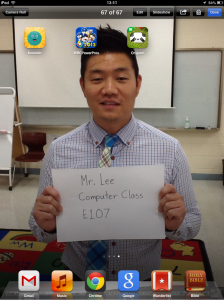
2. Take a picture of student holding a sheet that includes student's name, class, and room number.

photo 1

2. Open the Settings app

iphone-Settings

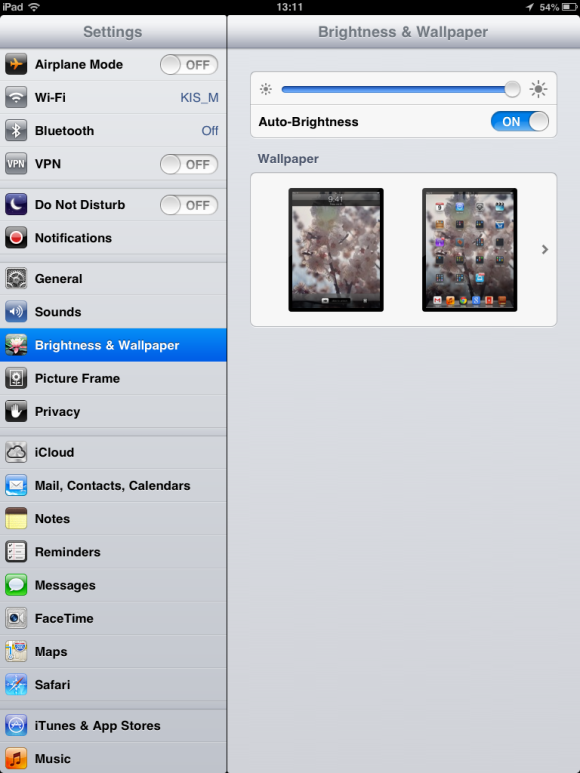
3. Scroll down and tap on Brightness & Wallpaper, Wallpaper, Camera Roll, and choose the photo your student took of him/herself.

photophoto 2

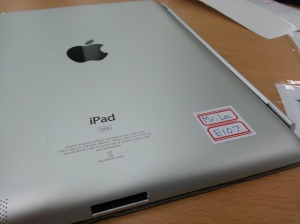
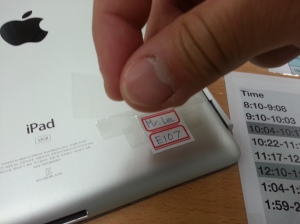
4. Write down student info onto a label and place it on the back, bottom corner of the iPad. I recommend placing tape over the label as well.

20130809_130955 20130809_131020


Saturday, August 3, 2013

My Sister's Minecraft Creation (Developing Creativity)


I recorded my 4th grade sister giving me a tour of her archery academy that she created with Minecraft Pocket Edition. I thought the Level 2 Archery Room was pretty ingenious.