Tuesday, August 20, 2013

How I Re-Imaged My Mac Computers in My Lab

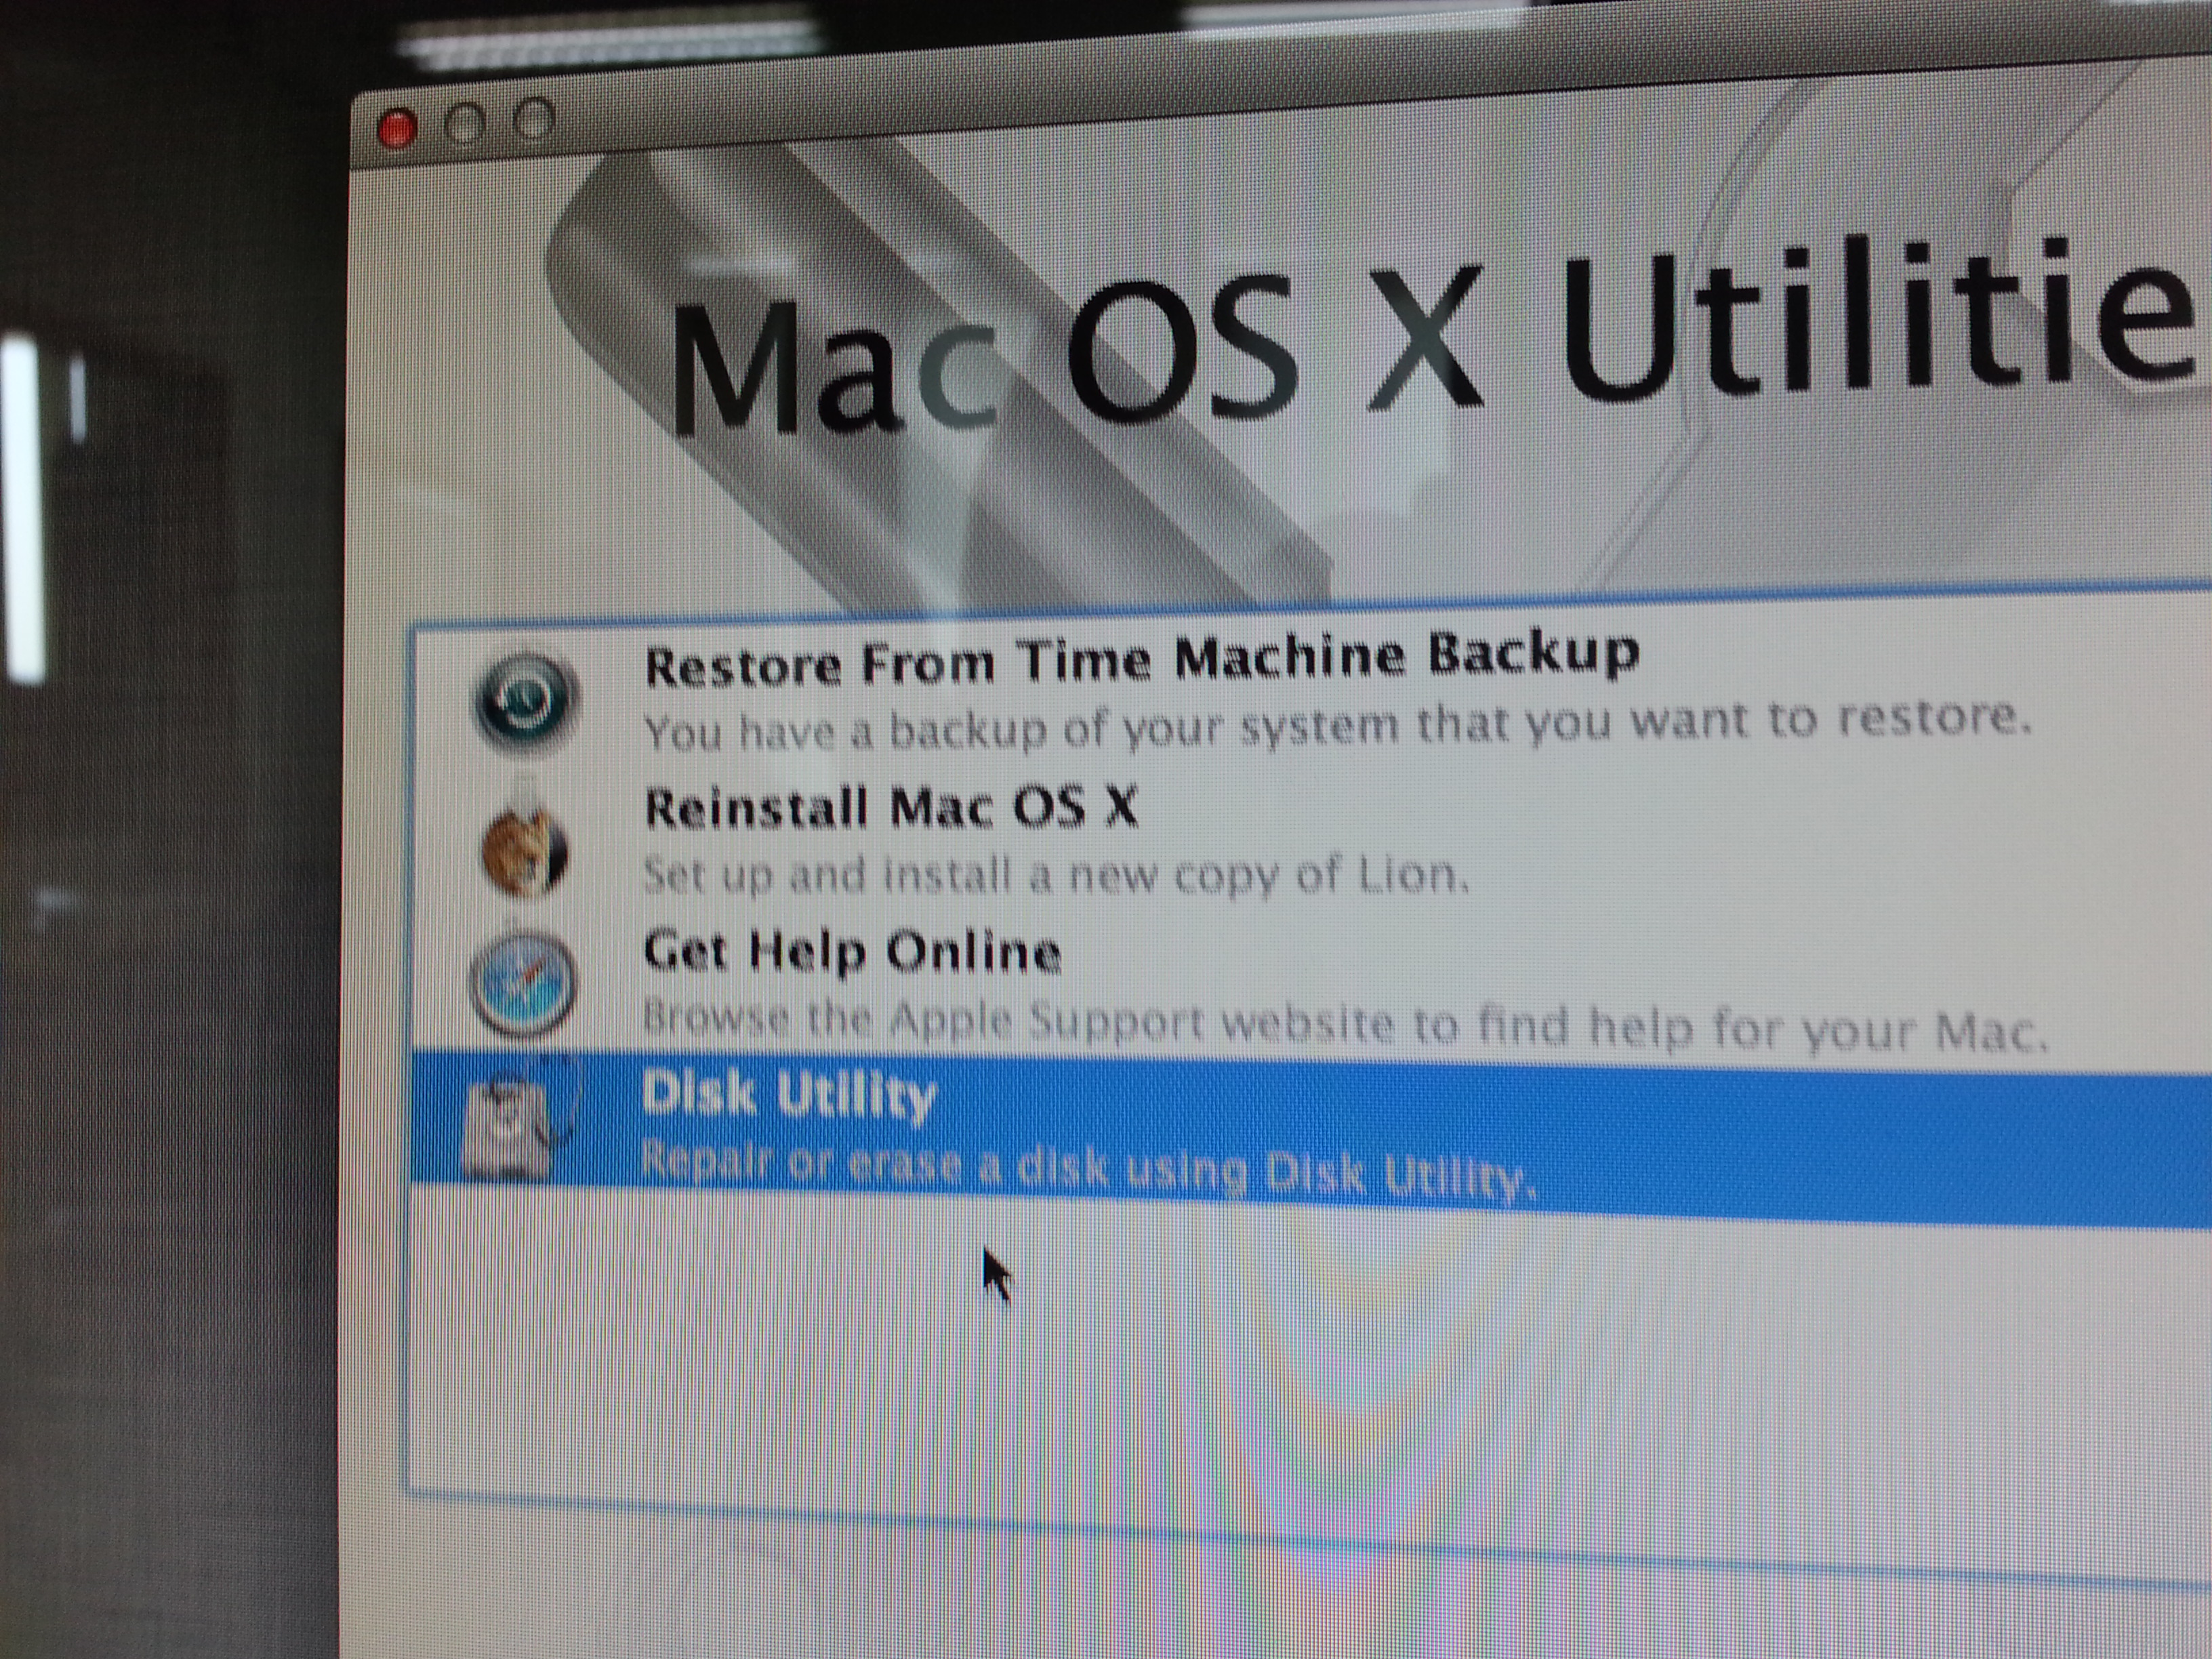
I wanted to start the school year with a new clean slate by re-imaging my computers in the lab. This process involved the cloning of a computer hard drive that I customized and reinstalling it to the rest of the computers. The hard drive I cloned, or imaged, included the specific applications I wanted my students to use, specific OS settings, and numerous Chrome extensions that block inappropriate ads on the browser. Imaging your computer is also a great way to back-up your important data. 
All this could not have been done with the help of Jacob in the IT department. 

Steps to Image Your Computer:

1. Open your Disk Utility application and click on the "New Image" icon. 

Image

2. Name your dmg file and save it to your desktop. 

ImageImage

3. Plug in your external hard drive and upload the dmg into it. 


Steps to Re-Image Your Computers:

1. Restart your computer. 

Image

2. Hold down the Option key during the restart of your computer.

Image

3. Click on Recovery HD

Image

4. Plug in your external hard drive to your computer that contains the dmg file.

Image

5. Choose your language.

Image

6. Click on Disk Utility.

Image

7. Choose your hard drive on the left-hand side.

Image

8. Click on "Restore."

Image

9. Click on the "Image" button and choose your dmg file.

ImageImage

10. Double-click on your dmg and click "Skip".

Image

11. Double-click on the bottom "Macintosh HD".

Image

12. Drag the first "Macintosh HD" into the "Destination" box.  

Image

13. Click on the "Restore" and "Erase" button. 

ImageImageImage


No comments:

Post a Comment